Share WordPress Posts to Social Media using Custom IFTTT Applets
IFTTT (If This Then That) is a clever service that allows you to connect a wide variety of software services (and hardware) to one another for automating tasks. Some neat use cases for this would be if you want your WiFi doorbell to flash the lights when someone is at the door (a great accessibility tool for the hearing impaired), or something as simple as sending you a text message if you receive an email from a specific sender. The number of services currently available on the IFTTT platform means the range of possible applications is pretty broad.
One common use case that we can apply here is sharing WordPress posts to social media accounts. Sure, there are dozens of plugins and services available which allow you to automate the sharing WordPress posts to social media, but if you have relatively simple needs for social sharing, IFTTT is a good option that doesn’t require a monthly subscription.
There are lots of premade applets (IFTTT’s ‘programs’ that connect services) to choose from, but a lot of these are limited in what you can customise. It’s worth looking to see if any of these fit your criteria, but in case those don’t, you can try this custom applet method.
If you noticed any extra test posts appear a few days ago, that was because I was testing this out. :P
If the pre-made applets and applet wizard don’t fulfill your needs, you can create your own private customised applets by registering for the free tier on the IFTTT Platform.
Note: I’m not sure how long this will continue to be made available to the public in this way. At the time of writing this post, it looks as though their pricing tiers are in a period of transition.
The steps below allow you to customise the text shared by including the tags and categories as hashtags.
Step 1: Register for the IFTTT Platform
Upgrade your account by clicking on New Applet, and instead of clicking on “this”, click on the “Build on the Platform” link below it, and follow the instructions to register for Platform access. This places you on the free tier by default.
Step 2: Set up a Service
Once you have verified your account, the interface will require you to create a Service. This isn’t what you’re after, but it’s a required step, and you can choose the “Hello World” template service just to get going.
Step 3: Create a New Applet
That done, go to Applets, and click on New Applet.
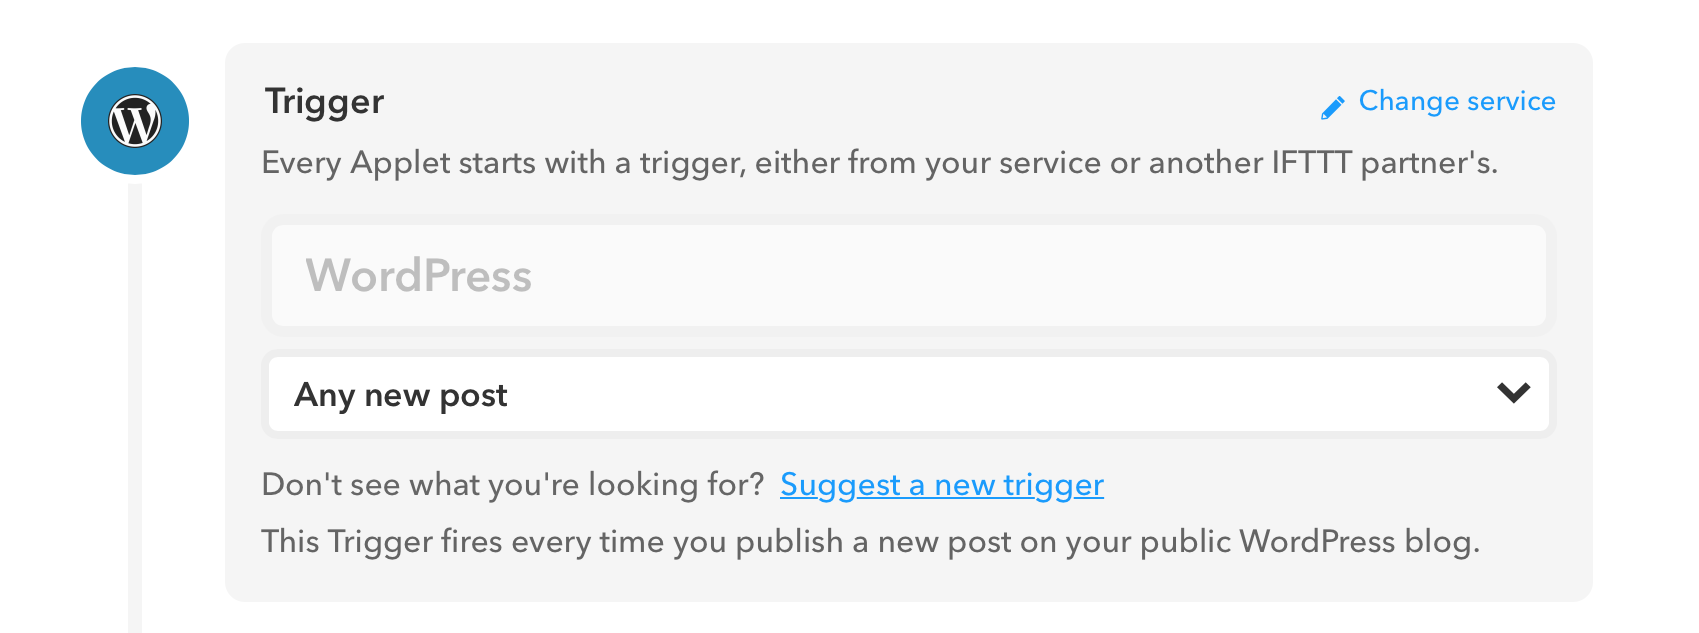
For the if Trigger, enter WordPress, and when the dropdown loads, select “Any new post”, or if you only want to target specific tags or categories, select “New post with tag or category” and populate the fields.
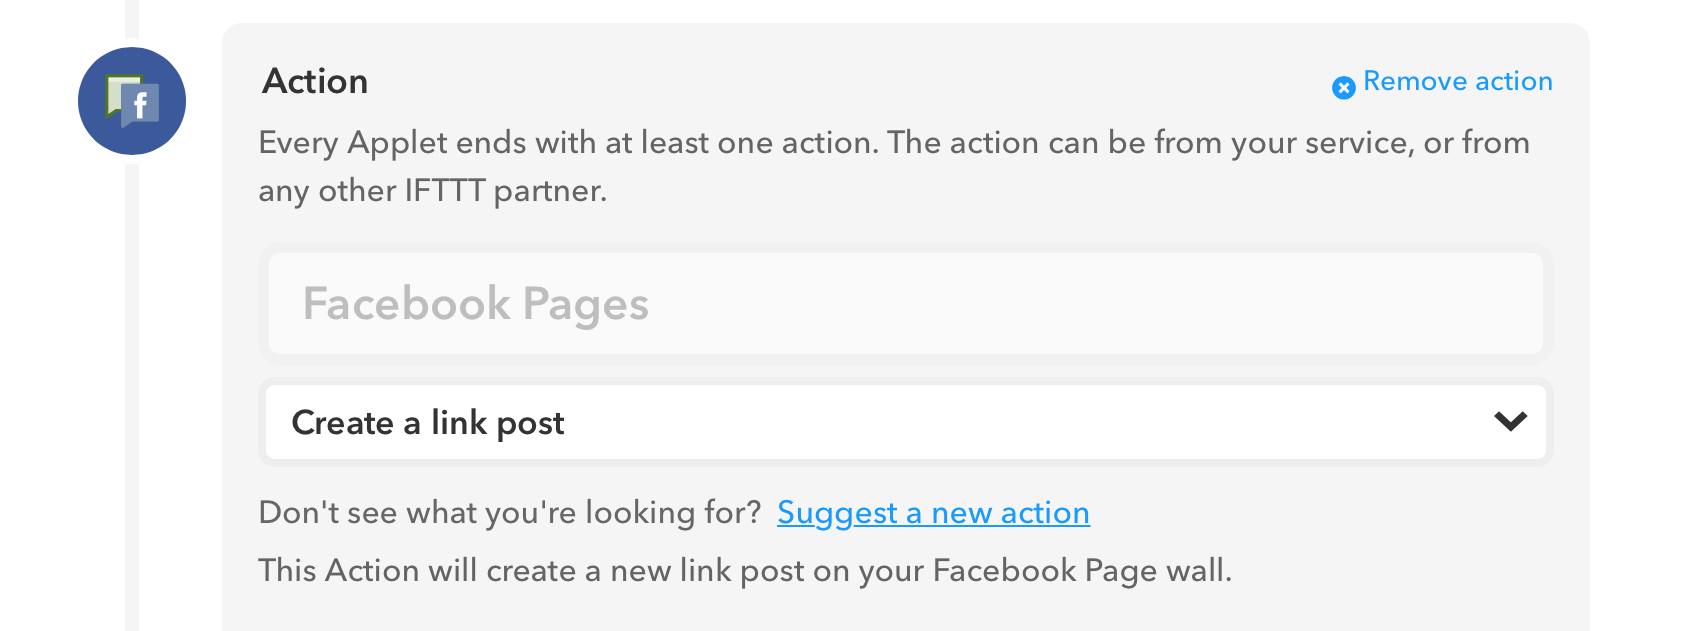
For the then Action, click the Action button and enter the social media service being shared to. This example is using Facebook Pages.
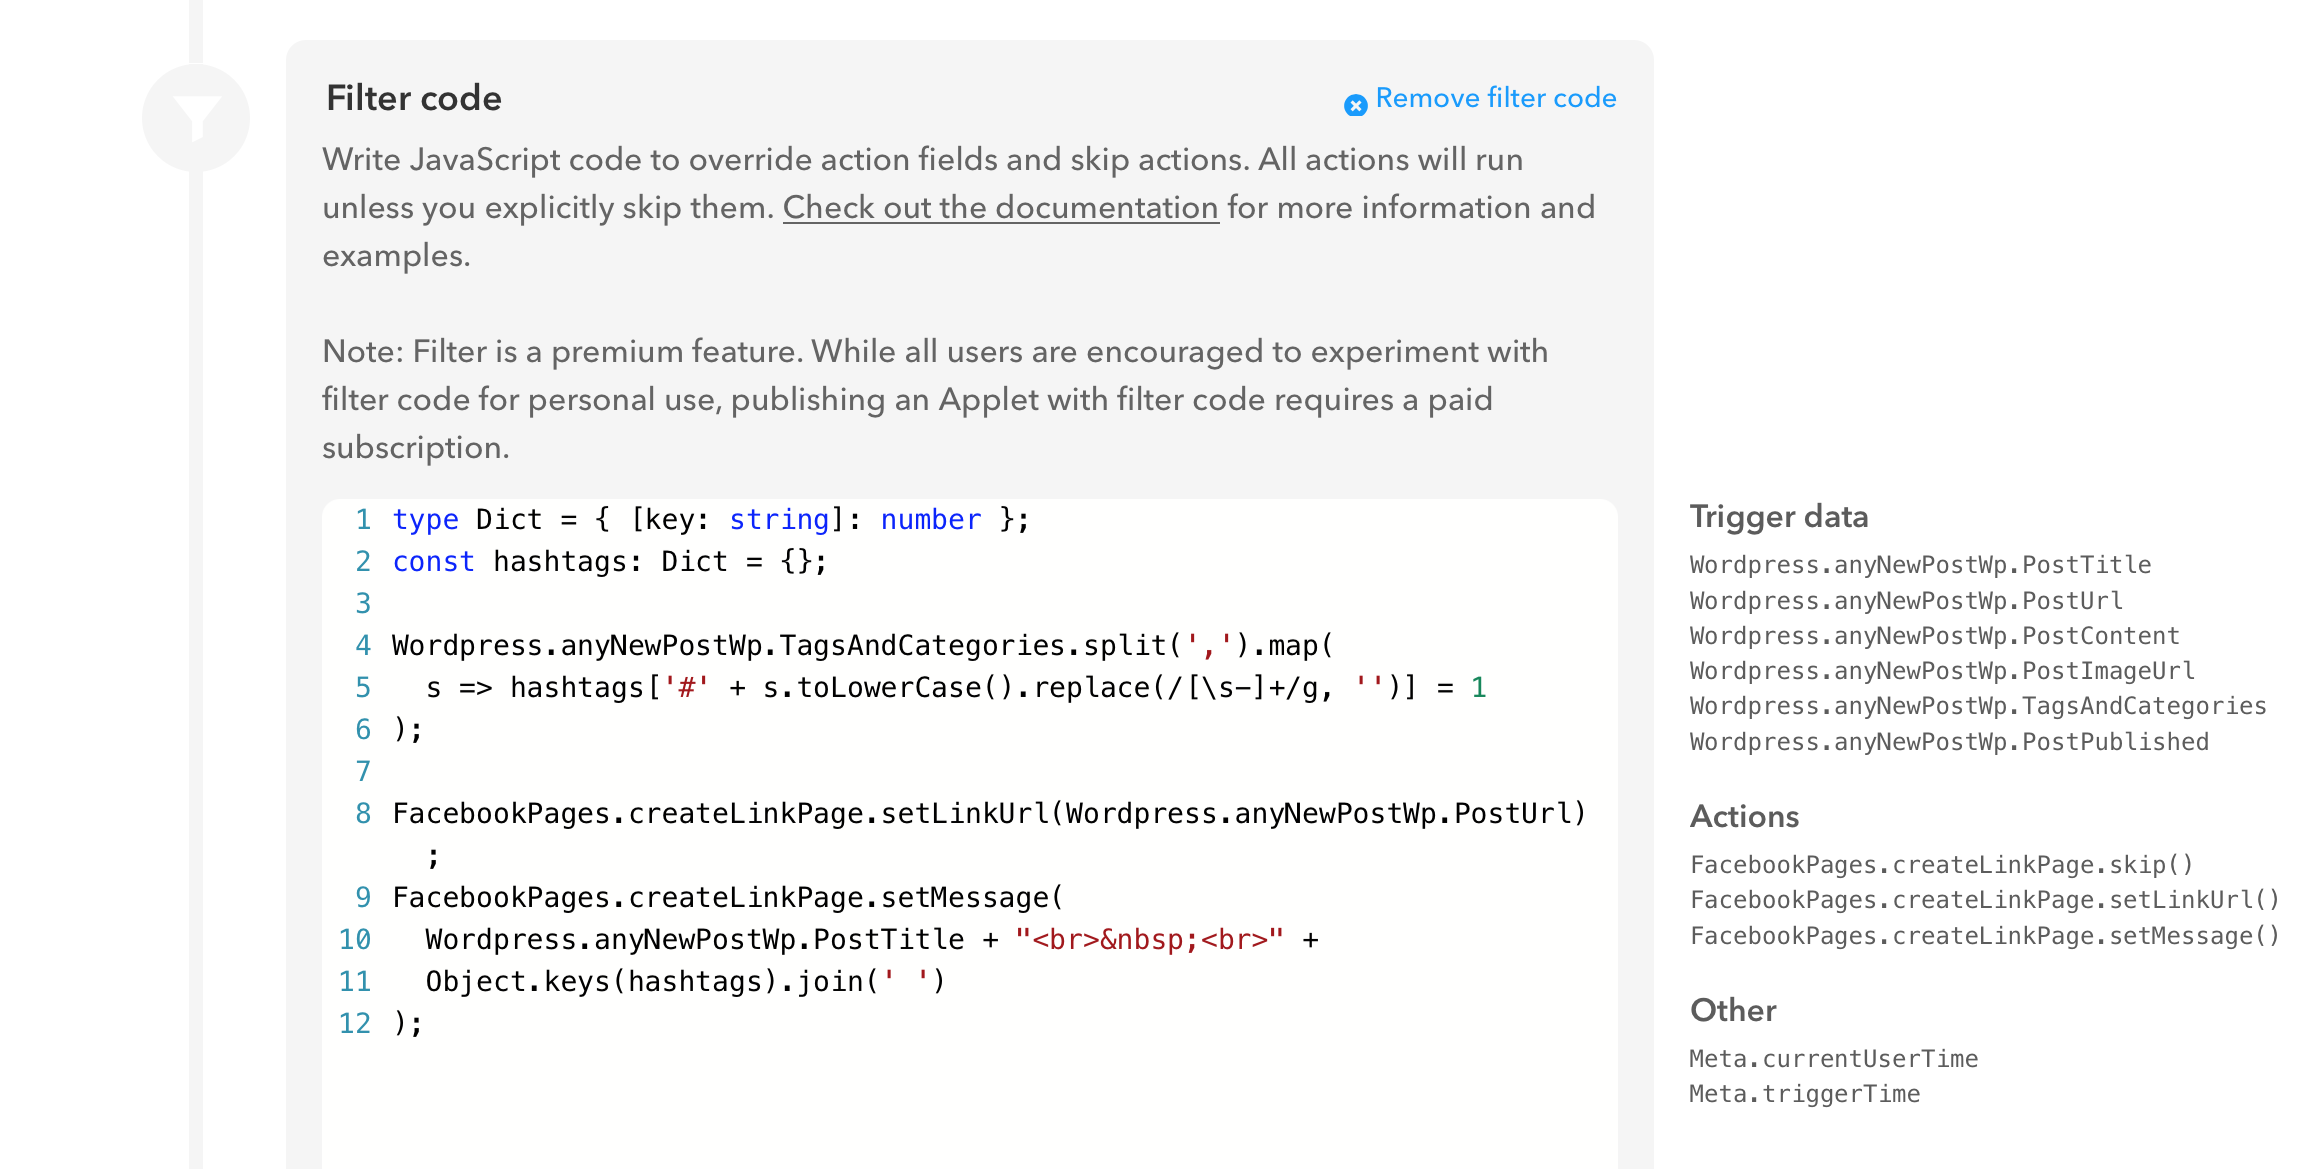
To customise the message body of the social media post, use the following gist in the “filter code” section above the Action. If you are not using the Facebook Pages service, replace the FacebookPages specific properties with the corresponding properties for your chosen service. You’ll see the available Trigger Data and Actions available on the right-hand-side for reference.
I have also included the Buffer filter code below, but bear in mind that IFTTT only allows you to access one Buffer channel. I’ll be writing about another method to publish to Buffer from IFTTT soon that lets you publish to multiple Buffer channels at once.
| type Dict = { [key: string]: number }; | |
| const hashtags: Dict = {}; | |
| Wordpress.anyNewPostWp.TagsAndCategories.split(',').map( | |
| s => hashtags['#' + s.toLowerCase().replace(/[\s-]+/g, '')] = 1 | |
| ); | |
| Buffer.addToBuffer.setMessage( | |
| Wordpress.anyNewPostWp.PostTitle + "\n" + | |
| Object.keys(hashtags).join(' ') + "\n" + | |
| Wordpress.anyNewPostWp.PostUrl | |
| ); |
| type Dict = { [key: string]: number }; | |
| const hashtags: Dict = {}; | |
| Wordpress.anyNewPostWp.TagsAndCategories.split(',').map( | |
| s => hashtags['#' + s.toLowerCase().replace(/[\s-]+/g, '')] = 1 | |
| ); | |
| FacebookPages.createLinkPage.setLinkUrl(Wordpress.anyNewPostWp.PostUrl); | |
| FacebookPages.createLinkPage.setMessage( | |
| Wordpress.anyNewPostWp.PostTitle + "<br> <br>" + | |
| Object.keys(hashtags).join(' ') | |
| ); |
At the bottom of the page, enter the Applet Title and Applet Description and click on Save.
Step 4: Activate the Applet
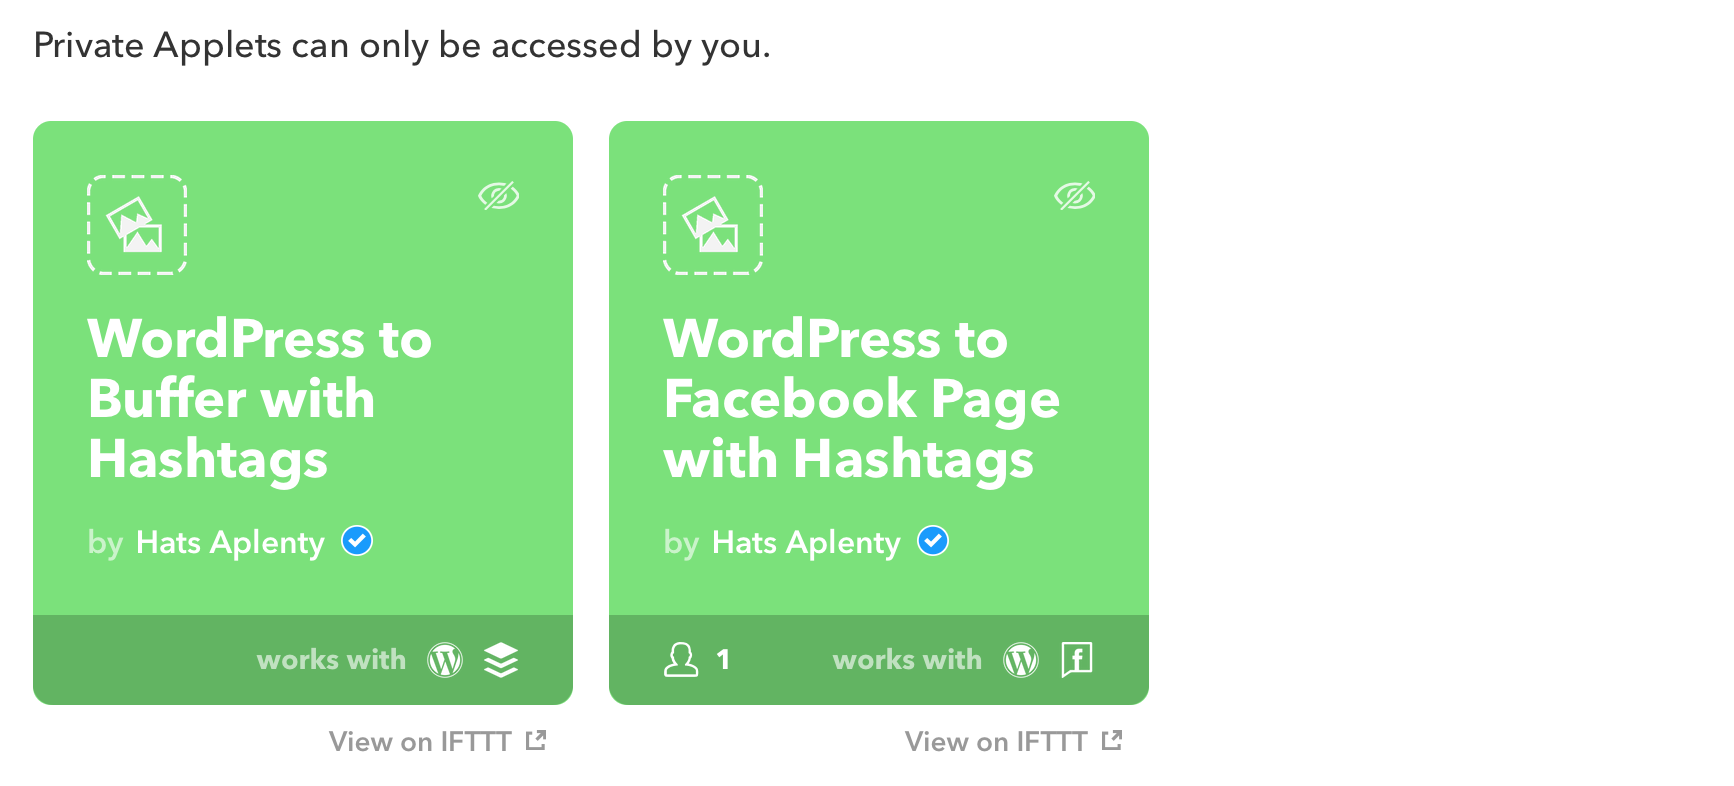
Applets published in this way are not available for sharing to the public unless you are on a paid tier. They can only be used by the account creator. If you return to the IFTTT Platform Private applet list, you can click on “View on IFTTT” to activate it in your account. And when you next publish a post, you should see it automatically show up in your Buffer schedule. If you install the IFTTT mobile app as well, you'll also get push notifications when the applet is run.
